
Make these adorable paper mache “boxes” out of clay and then paint them with happy colors in this fun kids craft.
It was a cold, rainy Saturday and my younger kids wanted to do something creative. They enjoy being my art class guinea pigs. For some time now, I was inspired by this sweet papier–mâché project from Art Projects for Kids, and this was the perfect weekend to do it.
What is papier–mâché? It literally means, chewed paper in French. To you and I, paper mache is a sculpture technique using strips of newspaper, starch or glue, and some sort of form to support the soaked newspaper strips.
It’s a messy but fun project. I’ve done this project before and with a large number of children it’s madness. But I figured since we’re working with a small subject (a heart) and only three kids, it should be a walk in the park.
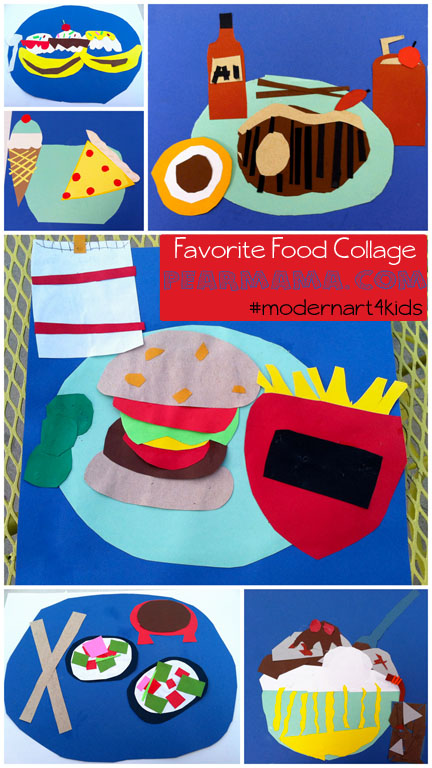
RELATED: Favorite food collage craft for kids
For this particular project, I decided to use clay as the base of our shape, just like the original project did. This way, I gave my kids the chance to play with moist clay, which is always soothing and therapeutic.
Think I’m kidding (or crazy)?
Sit down a group of rambunctious kids with some clay and in a few minutes you’ll have them all quietly shaping their clay, in total Zen mode.
What You’ll Need:
- modeling clay
- bottle of concentrated liquid starch such as Sta-Flo.
- bowl for starch
- newspaper (torn into strips)
- white primer (liquid or spray can)
- craft paint
- paint brushes
- #11 x-acto blade (or sharp cutting tool)
- Mod Podge (I like Sparkle)
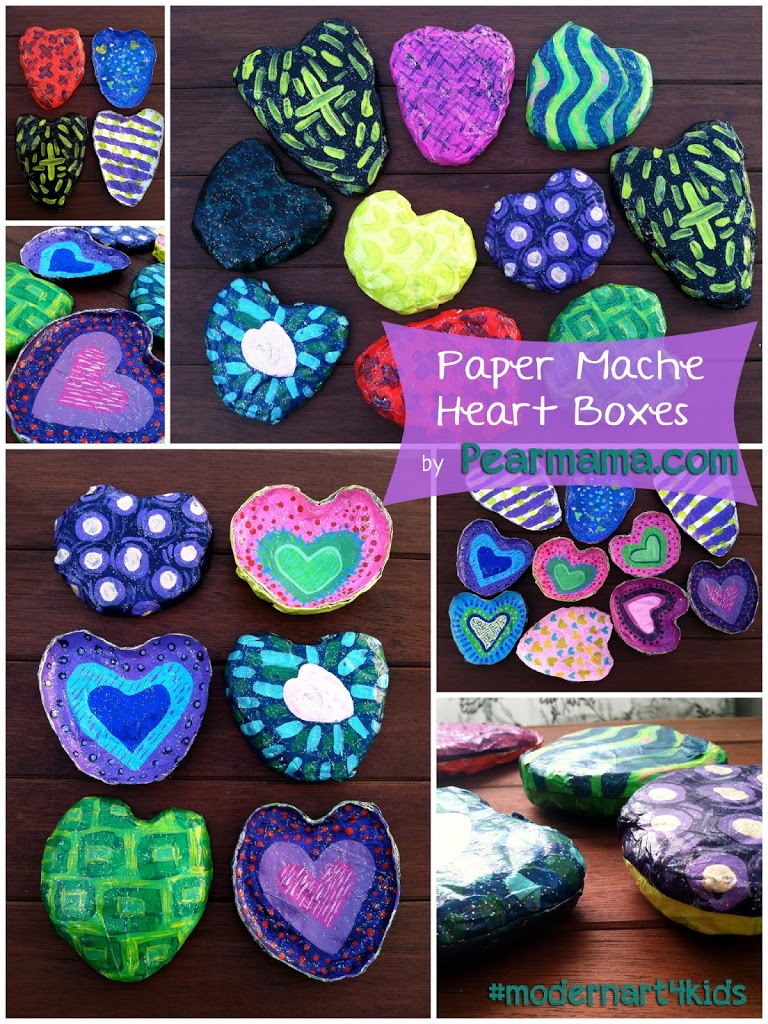
Everyone uses a different paper mache formula. I used to mix liquid starch with equal parts water. Now I’m too lazy. I just use straght liquid starch and pour it in a bowl. It’s cheap, easy and does the job. Paper mache is as simple as dunking your newspaper strips into the starch liquid, squeegeeing (is this even a word?) off the excess liquid back into the bowl and then wrapping the strip around your object. You will repeat this process until the entire object is covered. I usually do two or three layers to make it extra sturdy. This is what your paper mache heart will look like. Isn’t it cute?
Once you cut the heart into two pieces, you can pop out your plastic-wrapped heart. All you have to do is remove the plastic wrap and it’s totally reusable–just throw it back into your clay stash.
Okay, now for the fun part.
Can I share a little secret with you? Since my husband and I are both artists, we have a ton of professional artist grade paint that is amazing. But I always bypass it when I do crafts because I have a love affair with craft paint. Folk Art, Craft Smart, Martha Stewart, Americana brand–I don’t discriminate. I can’t get enough of the little 2 oz. bottles of goodness. They come in so many great colors and they usually cost less than a dollar.
What can I say? Craft paint is my jam.
RELATED: Abstract painted tile squares for kids
Start painting your heart boxes! We painted layers of solid colors and patterns like stripes, polka-dots, hearts within hearts–encourage your kids to get creative with their designs. Once the paint is dry, add a coat of your favorite Mod Podge finish. Sparkle never hurt nobody, ya’ll.
Have fun!

Xenia G.
The colors you chose are fantastic! I feel the love!