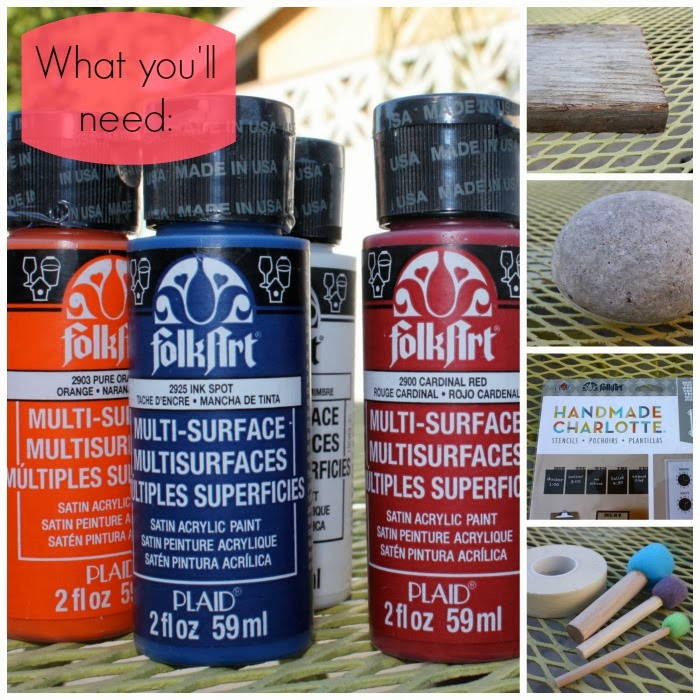
I recently got some goodies from Plaid in the mail, including some FolkArt Multi-Surface paint and Handmade Charlotte stencils. I know everyone is in high crafting mode, making Halloween stuff but in the midst of school starting, blogging and traveling (I’ll be sharing more about my New York travels very soon), I haven’t really had the chance to get my DIY groove back.
But even in the midst of my crazy life, the only way I seem to center myself and get ready to tackle the big things in life is by making stuff.
I’m funny that way.
I decided to make something cool to personalize my front porch.
Side note: I’ve used many, many brands of paint, both artist-grade and craft paint, and I have to say that Plaid’s new FolkArt Multi-Surface paint is the business. And I’m not just saying that because they sent me some! It goes on smooth, the colors are very rich, saturated and the satin finish is like buttah. You can also use it on multiple surfaces–glass, ceramics, wood, metal, plastic, fabric, canvas paper and terra cotta. It’s even dishwasher safe and machine washable.
Boom.
I’m impressed.
I’m not one for Halloween decorations–you won’t find spider webs and witch brooms hanging around during October (I know–sacrilege). It’s not so much that I don’t like decorations, it’s just that it kills my wallet. And you know me, I’m all about saving a few dollars.
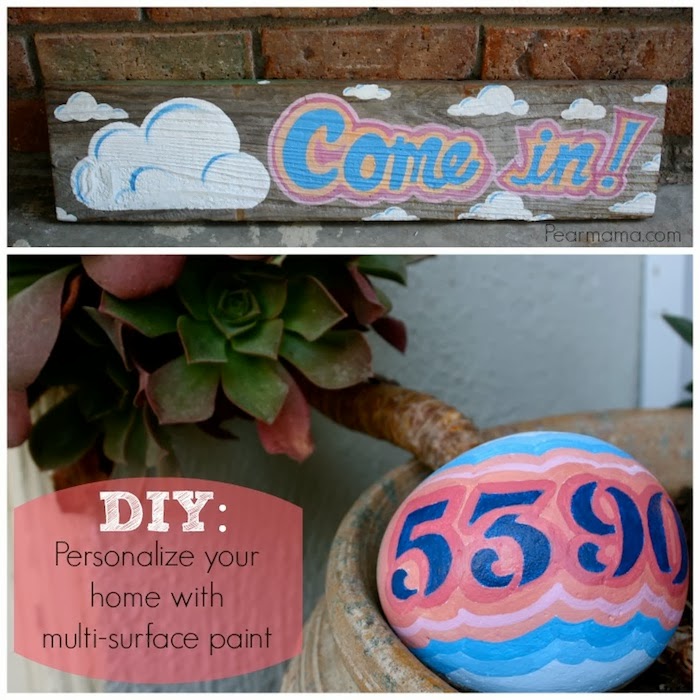
Instead, I chose to make an address marker for my porch, as well a happy sign to welcome my guests. I am a huge advocate for using what you have, so I just took a stroll through my yard and plucked a smooth rock from the flower bed and a piece of distressed wood in our big pile of don’t-throw-this-wood-away-we-will-use-it-for-something-someday.
Just make sure you clean everything and prepare your surfaces. For me, I wiped down the rock and removed some dirt and then I lightly sanded the wood. Just a little–I wanted to keep the distressed look. I know the surfaces are a little rugged but the FolkArt multi-surface paint did not disappoint.
One paint, two surfaces
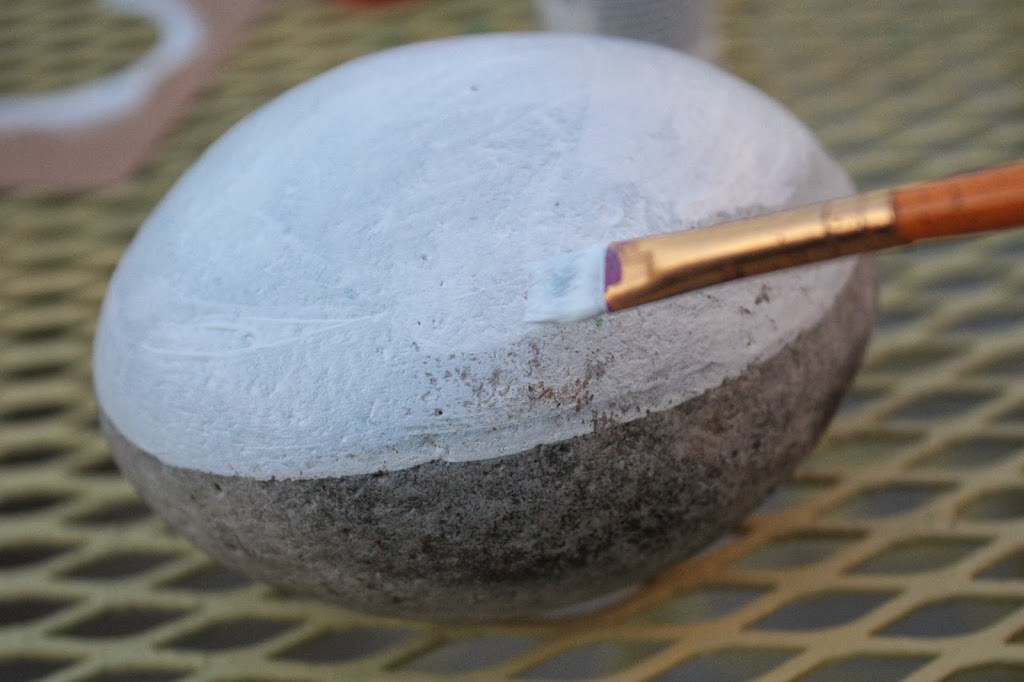
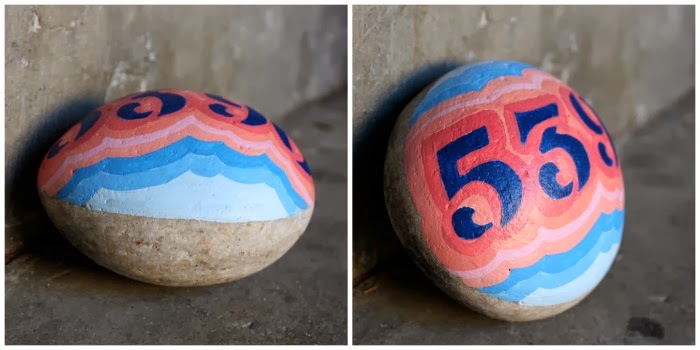
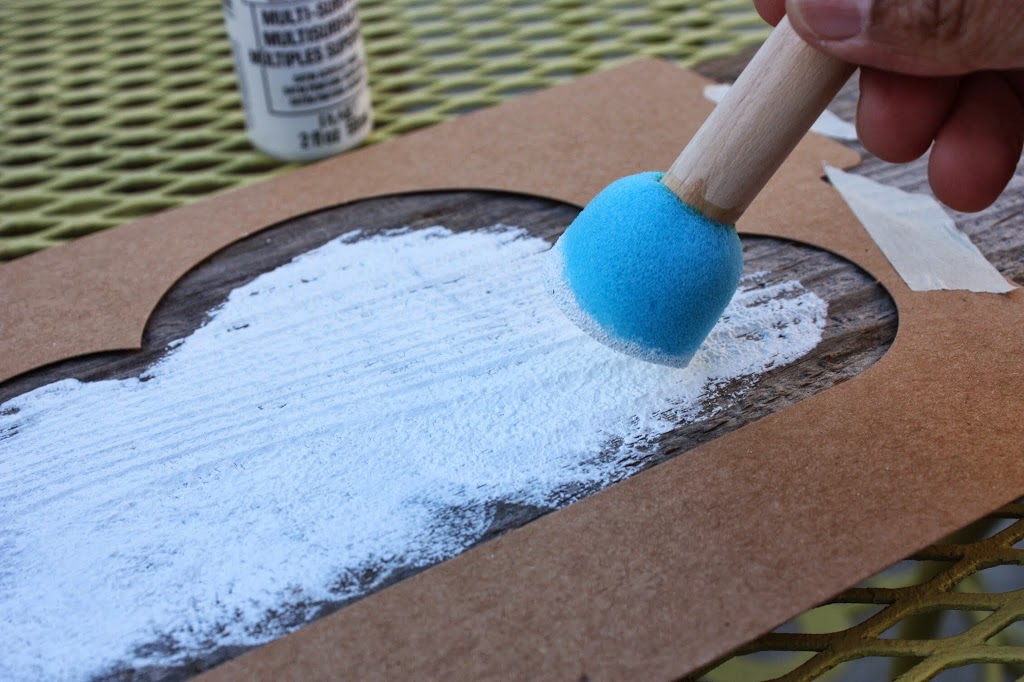
First, I primed the surface of the rock with the white FolkArt paint. I loved the smooth surface.
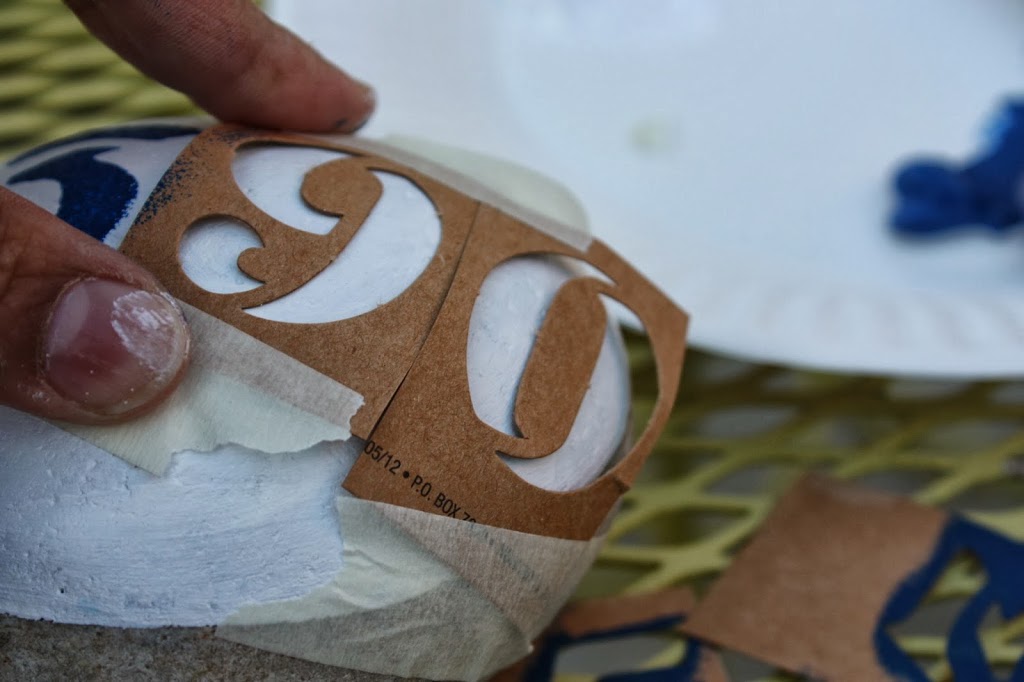
Then, I used Handmade Charlotte’s number stencils to add my address onto the rock. My rock was smooth but round so I used the tape to hold the stencils down.
Priming your surface with white is key.
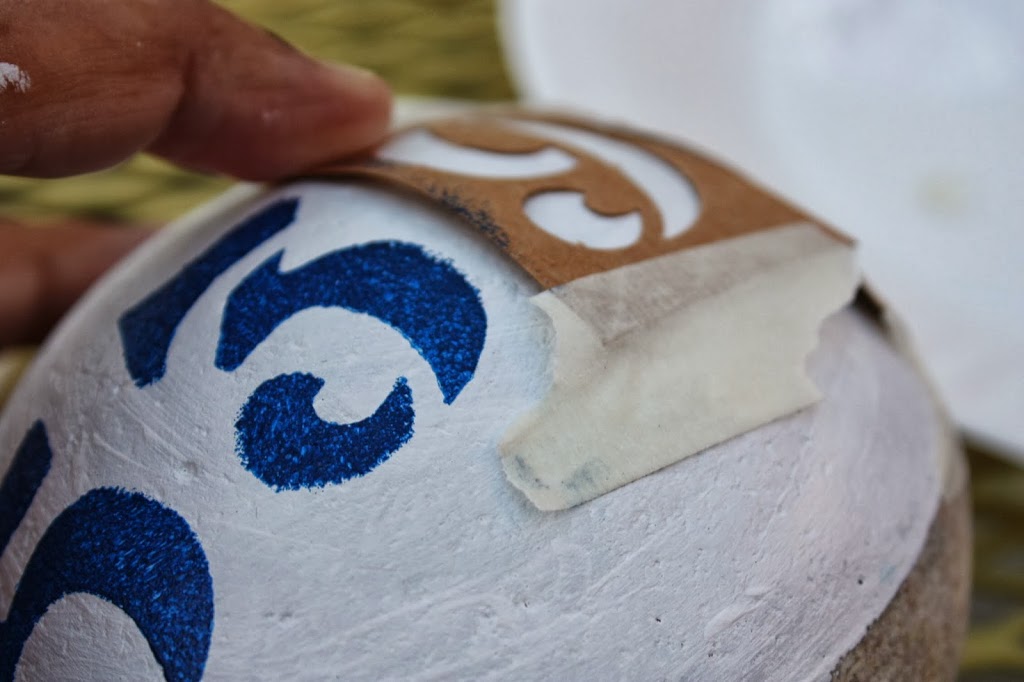
I just wanted to use the stencils as a guide, so I did a quick pounce so I could define the shape. I went over the shape with a paintbrush after.
After my numbers were dry, I went ahead and painted an echo shape around the numbers. I used an ombre effect on the colors, using orange, white and a little bit of cardinal red. Easy peasy.
My second surface was a piece of distressed wood. I thought the cloud stencil was really cute, so I decided to add it to my welcome message of, “Come on in”.
My husband is a mural artist and sign painter so whenever I paint a sign, he gives me serious side eye. Like, girl, you’re really going to paint this sign all by yourself? Basically the same attitude I give him whenever he attempts to write something.
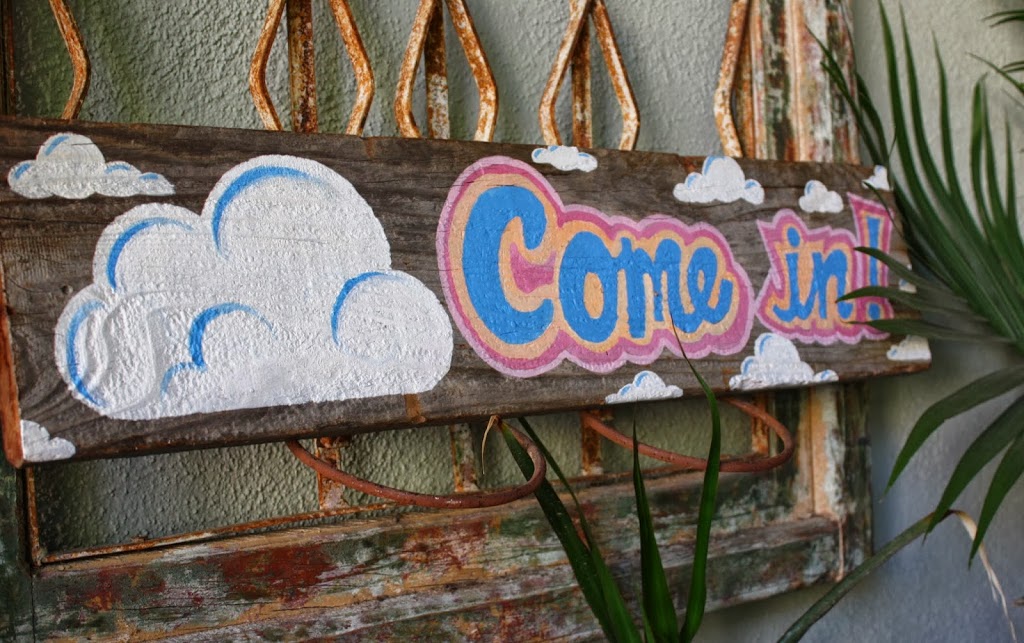
I may not qualify as a sign painter, but I will make amends for my shortcomings by calling it “simple and rustic”. In other words, I painted it freehand. You could totally use the letter stencils from Handmade Charlotte or any other letter cutting machine and make it extra fancy.
Disclosure: I was given products from Plaid. As usual, opinions are based on my own true experience and are 100% my own.